
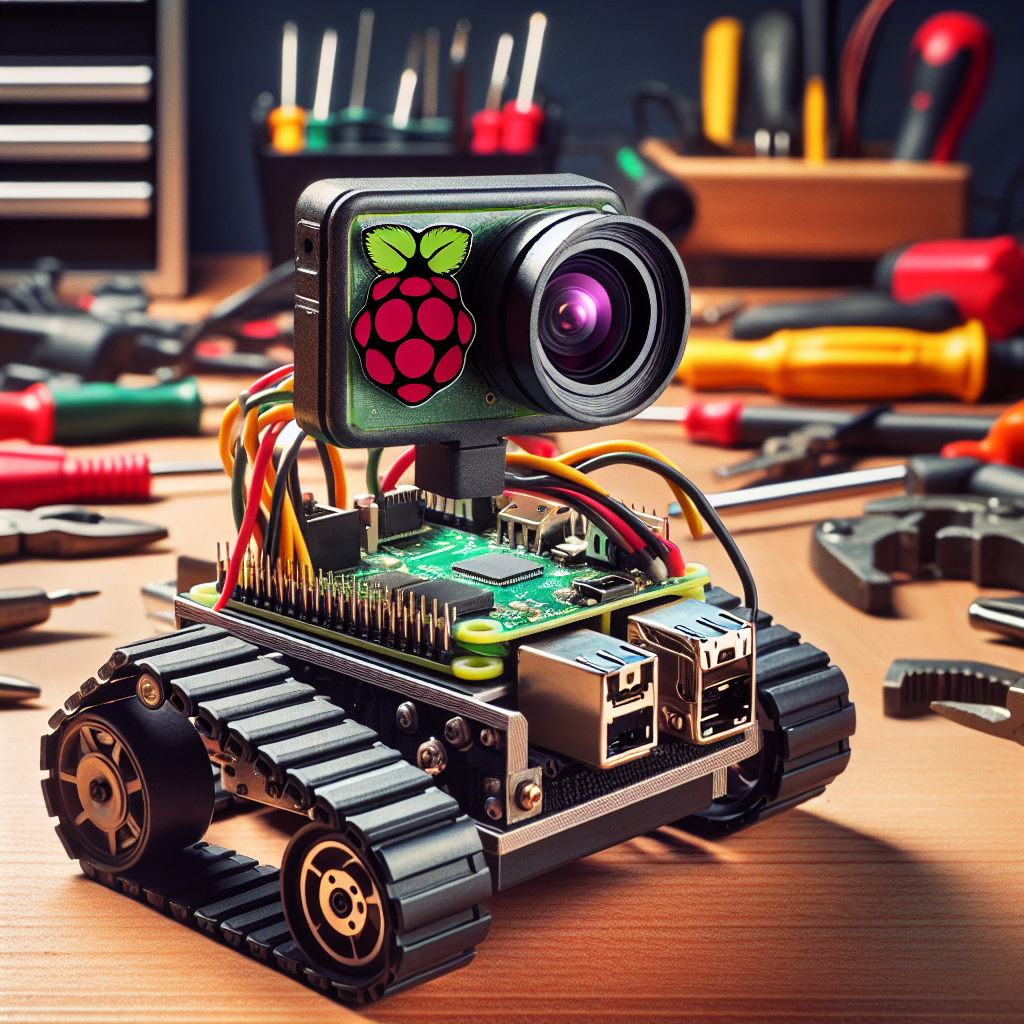
Arduino gives your robot reflexes — Raspberry Pi gives it a brain. When your project needs a camera, AI, or a real operating system, Pi is the platform. Raspberry Pi 5 makes AI robotics accessible on a $60 board. These four Raspberry Pi robot projects take you from basic motor control to a robot that recognizes objects and responds to voice commands. You'll learn when to use Pi vs Arduino, get component lists and code guidance, and see how to build a smart robot with Python and Linux. New to robotics? Start with our build your first robot guide. Want to understand the sensors used here? Read robot sensors explained. Comparing platforms? See robot programming languages.
To see how learning, sensing, and decision-making show up on physical hardware, read How robots use AI alongside these builds.
Why Raspberry Pi for Robot Projects?
Pi vs Arduino — When to Use Which
Arduino: real-time motor control, simple sensors, low power. Pi: camera, AI/ML, WiFi, complex logic, ROS 2. Best combo: Pi as the brain (vision, planning), Arduino as the motor controller. To build a robot with Raspberry Pi that sees and thinks, Pi is the right choice.
Choosing the Right Pi Model
Pi 5 (8GB): best for AI/vision, overkill for simple projects. Pi 4 (4GB): sweet spot for most Raspberry Pi robotics. Pi Zero 2W: lightweight, portable, limited power. Raspberry Pi product lineup: raspberrypi.com/products.

- Includes Raspberry Pi 5 with 2.4Ghz 64-bit quad-core CPU (8GB RAM)
- Includes 128GB Micro SD Card pre-loaded with 64-bit Raspberry Pi OS, USB MicroSD Card Reader
- CanaKit Turbine Black Case for the Raspberry Pi 5
- CanaKit Low Noise Bearing System Fan
- Mega Heat Sink - Black Anodized

- Includes Raspberry Pi 4 4GB Model B with 1.5GHz 64-bit quad-core CPU (4GB RAM)
- Includes Pre-Loaded 32GB EVO+ Micro SD Card (Class 10), USB MicroSD Card Reader
- CanaKit Premium High-Gloss Raspberry Pi 4 Case with Integrated Fan Mount, CanaKit Low Noise Bearing System Fan
- CanaKit 3.5A USB-C Raspberry Pi 4 Power Supply (US Plug) with Noise Filter, Set of Heat Sinks, Display Cable - 6 foot (Supports up to 4K60p)
- CanaKit USB-C PiSwitch (On/Off Power Switch for Raspberry Pi 4)
Initial Setup for Robotics
Flash Raspberry Pi OS (Lite for headless), enable SSH, camera, I2C, SPI. Install Python libraries: gpiozero, picamera2, OpenCV. Headless = no monitor; develop over SSH from your laptop.
Project 1 — Basic Motor Control with Pi and Python (Difficulty: 2/5)
What It Does
Drive motors using GPIO pins and Python. Foundation for all Pi robot projects.
Components
Pi, L298N motor driver, 2× DC motors, chassis, battery pack. Wire GPIO pins to L298N (same pattern as Arduino; use 5V and GND from Pi for logic, separate supply for motors if needed).

- BUILD, CODE & DRIVE YOUR OWN ROBOT CAR: Turn coding, electronics and engineering into a working programmable robot car you can assemble, program and drive; ideal for weekend family projects, STEM classrooms, coding clubs, robotics lessons and maker challenges
- EXPLORE FPV, LINE TRACKING & OBSTACLE AVOIDANCE: Control the robot with the ELEGOO app or IR remote, view live FPV video through the onboard camera, follow black lines, avoid obstacles with the ultrasonic sensor and explore multiple interactive driving modes
- BEGINNER-FRIENDLY BUILD WITH GUIDED WIRING: Keyed XH2.54 connectors help reduce wiring mistakes, while the illustrated tutorial and example programs guide beginners step by step from chassis assembly and module connection to programming and the first successful run
- GO BEYOND ASSEMBLY WITH CREATIVE CODING: Program with Arduino IDE to explore movement, sensors and control logic, then modify example code to create custom routes, reactions and robotics experiments that develop coding, problem-solving and engineering skills
- COMPLETE RECHARGEABLE STEM ROBOTICS KIT: Includes an ELEGOO UNO R3 controller board, ESP32-WROVER-based camera and Wi-Fi module, line-tracking and ultrasonic sensors, motors, IR remote and a 2000 mAh rechargeable lithium-ion battery; recommended for ages 8+ with adult guidance for first-time builders
Python Code with gpiozero
Use gpiozero.Robot: Robot(left=(pin1, pin2), right=(pin3, pin4)). Call robot.forward(), robot.backward(), robot.left(), robot.right(), robot.stop(). Speed control with PWM. Adafruit Learn and Random Nerd Tutorials have Pi robot guides.
Project 2 — Camera Line Follower with OpenCV (Difficulty: 3/5)
What It Does
Uses Pi Camera to see a line and follow it with computer vision instead of IR sensors. More robust than hardware-only line followers.

- High-Resolution Sensor: Equipped with a back-illuminated and stacked CMOS 12-megapixel IMX708 image sensor, this Raspberry Pi camera offers outstanding image quality with excellent light sensitivity and a high signal-to-noise ratio (SNR). This ensures sharp, clear, and vibrant images even in low-light environments
- 75°D Fixed Focus Lens: This imx708 Raspberry Pi V3 camera features a 75° diagonal field of view (DFOV) autofocus lens. Enjoy faster focusing and more stable images with a75°D fixed focus lens and built-in 2D DPC and QBC Re-mosaic functions, providing high SNR and ultra-high quality images
- Advanced HDR Mode: This Pi camera module supports High Dynamic Range (HDR) imaging with up to 3-megapixel output resolution. This mode merges multiple exposures to produce photos with balanced brightness and enhanced detail in both shadows and highlights, perfect for high-contrast lighting conditions
- Infrared Cut Filter: This Raspberry Pi 12MP camera module comes with an infrared cut filter integrated into the fixed focus lens, which blocks infrared light to maintain natural color reproduction and true-to-life images under normal lighting conditions
- Compatibility: Designed specifically for Raspberry Pi platforms, such as Raspberry Pi 5, Pi4/3, and Pi Zero 2w, making it easy to integrate into various DIY projects, robotics, and IoT applications requiring high-quality imaging
OpenCV Color Masking
Capture frame, convert to HSV, create mask for line color, find contours, get center of largest contour. Compute offset from image center — that's your steering error.
Proportional Steering
Map pixel offset to motor speed differential: left_speed = base – k * offset, right_speed = base + k * offset. Tune k for smooth following.
Project 3 — Object Detection Robot with TensorFlow Lite (Difficulty: 4/5)
What It Does
Recognizes objects with TensorFlow Lite — follow a specific object, avoid others, or announce what it sees.

- All-in-One AI Learning Lab Powered by Raspberry Pi & Multi-LLMs. Turn Raspberry Pi (5 / 4B / 3B+ / 3B / Zero 2W) into a complete AI learning lab with support for multi-LLMs like ChatGPT, Gemini, Grok, DeepSeek, Qwen, Doubao, and Ollama. Includes Pan-Tilt HAT,10-axis (10DOF) module, camera, and high-quality components. Learn AI through guided video lessons created with educator Paul McWhorter. (Raspberry Pi not included)
- Build Fun Multi-Modal AI Projects with Voice, Vision & Sensors. Combine sensors, breadboard circuits, Multi-LLMs, voice recognition, and camera vision to create engaging multi-modal AI projects. Learn STT and TTS through hands-on programming, turning abstract AI concepts into interactive projects you can see, hear, and control—perfect for AI beginners
- AI Vision Tracking with YOLO, OpenCV, MediaPipe & Pan-Tilt HAT. Create intelligent vision projects using OpenCV and MediaPipe to detect and track objects, colors, and human movements. The Pan-Tilt HAT allows your projects to actively follow targets, helping learners understand how AI vision and motion work together in real systems
- Fusion HAT+ Power System with Voice AI Interaction. The Fusion HAT+ provides power, safe shutdown, and simplified hardware control via a unified Python library. With the Fusion HAT+ featuring a built-in speaker and microphone, easily build AI voice interaction projects by combining Multi-LLMs with sensors and electronic components
- Step-by-Step Learning with Video Lessons & Technical Support. Includes a structured, project-based curriculum with clear documentation, sample code, and video tutorials created with Paul McWhorter. Backed by responsive technical support and an active community, this kit helps beginners confidently progress from Python basics to AI and interactive projects
Setting Up TensorFlow Lite on Pi
Install tflite-runtime, download a pre-trained model (e.g. MobileNet SSD), pipe camera frames into the interpreter.
Detection Loop and Robot Response
Run inference on each frame, parse bounding boxes and class IDs. Decide movement from object position and class (e.g. follow “person”, avoid “chair”). Pi 5 runs MobileNet at 15–30 FPS — enough for hobby robotics.
Project 4 — Voice-Controlled Robot with Speech Recognition (Difficulty: 3/5)
What It Does
Responds to voice commands: “forward”, “stop”, “turn left”.

- 2 Pcs USB 2.0 Mini Microphone for Raspberry Pi 5, 4B, 3B, 3B+, 2 Module B & RPi 1 Model B+/B. Easy to carry and can work for you anytime and anywhere.
- Easy to use: No need to install the driver, just plug it in to your Raspberry Pi/ Windows PC/ Laptop/ Desktop PC for an instant microphone.
- USB plug applies: Can work in chatting, Skype, MSN, recordings Yahoo and YouTube, Google voice recognition or Game exchange.
- Microphone is connected to the computer, you do not need to close it, the natural posture can be.
- Omni directional noise-canceling mic picks up sound from longer distances. The microphone will automatically filter the background noise
Speech Recognition Setup
Use SpeechRecognition library + USB microphone. Google Speech API (online) or Vosk (offline).
Command Parsing and Motor Control
Map recognized text to motor commands. Handle misheard words (confirm or ignore).
Going Further — ROS 2 and Advanced Pi Robotics
ROS 2 on Pi enables SLAM, navigation stacks, multi-robot coordination. Pi 4/5 run ROS 2 with Ubuntu. Community: r/raspberry_pi, Pi forums, hackster.io. Combine Pi + Arduino via rosserial for brain + muscles. For more Arduino-style projects see Arduino robot projects.
FAQ
Do I need to know Linux to build a Raspberry Pi robot?
Basic terminal skills help — navigating directories, editing files, running Python scripts. You'll learn as you go.
Which Raspberry Pi is best for robot projects in 2026?
Pi 5 for AI/vision; Pi 4 for most others; Pi Zero 2W for lightweight/portable.
Can a Raspberry Pi run computer vision in real time?
Yes — TensorFlow Lite on Pi 5 runs MobileNet at 15–30 FPS. Sufficient for hobby robotics.
How is a Pi robot different from an Arduino robot?
Pi runs Linux and Python, has camera support, can do AI/ML. Arduino is simpler, cheaper, better for real-time motor control.
Can I use a Raspberry Pi and Arduino together?
Yes — Pi handles vision/AI/planning, Arduino handles motor control and sensor polling.
How much does a Raspberry Pi robot project cost?
Pi: $60–$80. Kit: $80–$120. Camera: ~$25. Total: $100–$200.
Can I run ROS on a Raspberry Pi?
Yes — ROS 2 runs on Pi 4/5 with Ubuntu. Pi Zero is too limited.
What camera for a Pi robot?
Official Pi Camera Module 3 for most projects. USB webcam for compatibility.
Is Python fast enough for robot control?
For hobby robotics: yes. For hard real-time: use Arduino as co-processor.
Do I need a monitor for Pi robot development?
No — headless (SSH) is standard. Develop over WiFi from your laptop.
Conclusion
Four projects from motor control to AI-powered object detection. Pi is the platform when your robot needs to see, think, and learn. New to all of this? Start with build your first robot. Want to understand sensors first? Read robot sensors explained.
BringOnTheRobots.com is a participant in the Amazon Services LLC Associates Program, an affiliate advertising program designed to provide a means for sites to earn advertising fees by advertising and linking to Amazon.com, Amazon.co.uk, Amazon.ca, and other Amazon stores worldwide. Prices for items above were last updated on 2026-10-08 at 12:45. See Amazon's 30 Day Return Policy.